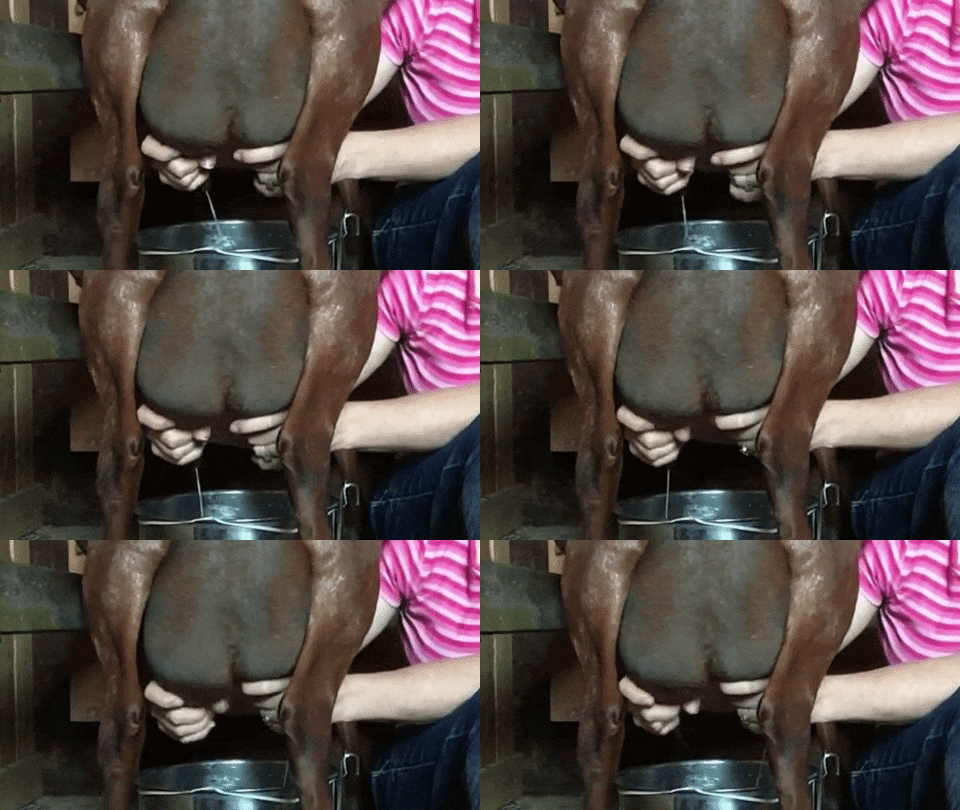
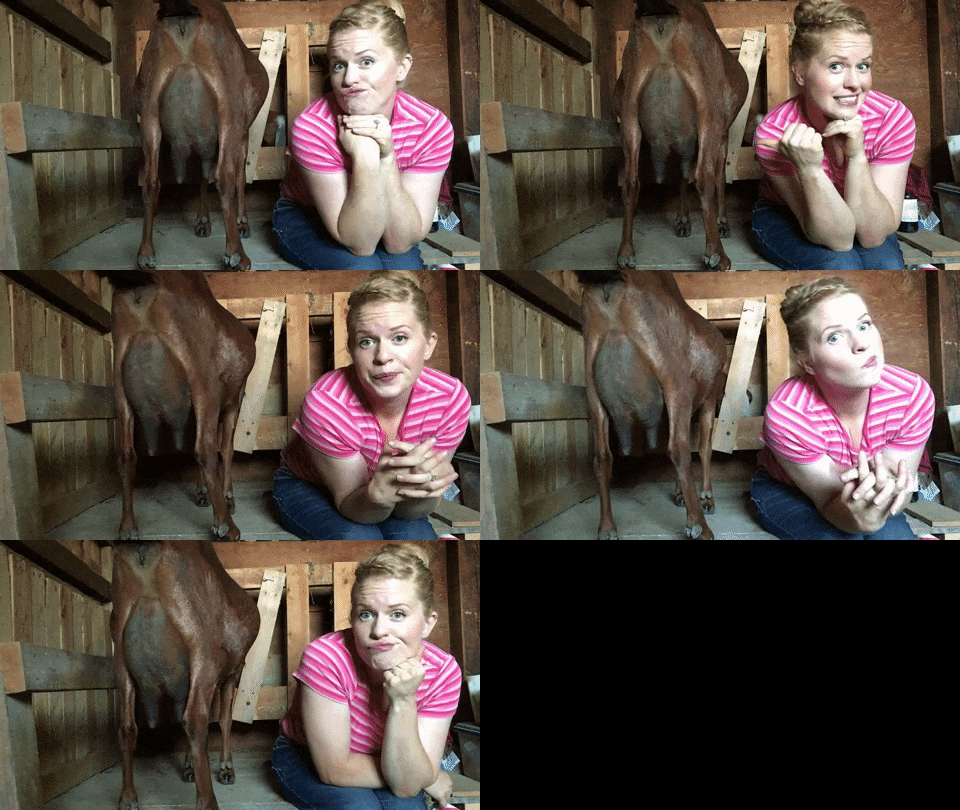
Are you curious about how to milk a goat? Watch the full unedited goat milking video below and then follow the step-by-step instructions including pictures. This is one of many great resources on our raising goats page!
Are you curious about how to milk a goat?
Watch the video below as Delci takes you through the milking process from beginning to end including:
• Cleaning before milking
• Using a strip cup
• How milking helped her carpal tunnel symptoms
• What abnormalities to watch for
• Pro tips to make it easier on goat and handler
• Step by step process
• Check out our FREE resource page
You can find a lot of articles here on A Life of Heritage that will teach you about goat care and be sure to check out The Goat Health, and Information Bundle–it’s full of to-do lists, checklists, record keeping sheets, and resource pages that will get your new (or old) goat herd off to a terrific start!
You are organized. You are knowledgeable. You are proactive. This is how. Click below to get this binder in your hands to avoid common errors that affect your goat's health. These records are your freedom and your goat's optimal health.Goat Essential ↓
Goat Management Binder

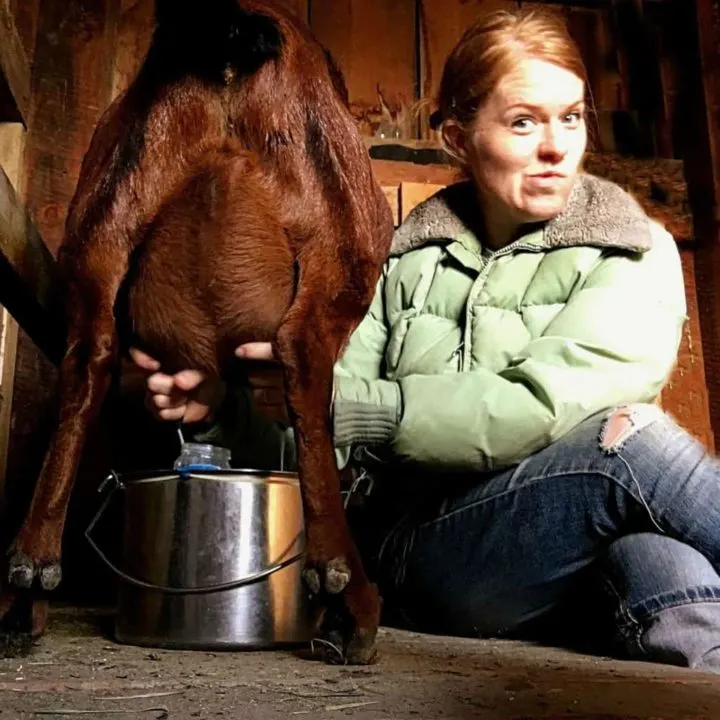
MILKING SUPPLIES NEEDED FOR GOATS
Notes
MILKING SUPPLIES
- Milking Stand
- Stainless Steel Milking Bucket
- Funnel and strainer (to strain the milk into glass containers for consumption)
- Milk Filters
- Glass Jars/Containers for storage
- Mastitis Tests
FURTHER READING
- Training New Goats to Milk (Video). What this video to watch a funny (and accurate!) video about training goats!
- How to Milk a Goat (Video). If you don't know how to milk a goat yet, this video will walk you through just how to do it! And if you prefer to read about it go here: How to Milk a goat (Post).
- Do Goats Like to Be Milked? (Video). What this video on my theory about goats and milking.
- Goat Heat Signs (Video). Before you can milk a goat they need to go into heat, get bred, have kids and come into milk. You can find out heat signs in the video or the post here: Goat Heat Signs Post.
- Goat Labor Signs (Video). And again before there is milk, there must be kids, which means labor and it is very helpful to know labor signs so you know when to stick around to be able to help if need be. You can also read the post here: Goat Labor Signs
- Astounding Benefits of Goats Milk. Do You know the benefits of goat milk? I hope so! But if not this is a good read 🙂 And here you can read about the Benefits of Raw Milk that You Need.
HELPFUL TOOLS
- This binder bundle will help keep tract of milk production, each goat's specific condition and kidding outcomes and important dates: My Goat Binder
Recommended Products
As an Amazon Associate and member of other affiliate programs, I earn from qualifying purchases.
How to Milk a Goat by Hand [Video]
If you like this information, my YouTube channel is full of even more goat information. Please click this link: Delci | A Life of Heritage and subscribe! You can also click this link to watch this information on YouTube: How To Milk a Goat Video on YouTube
How to Milk a Goat [Step by Step with Pictures]
After the step-by-step process listed below, there will be more details provided about why each step is important.
STEP 1: PREPARE TO MILK
Prepare the area by gathering the grain or goat treat of choice. My goats are partial and will only eat rolled barley. Other options would be alfalfa pellets, organic grain, hay, or a mix of grains. I will also be joining the fodder movement soon and will begin feeding my goats barley fodder.
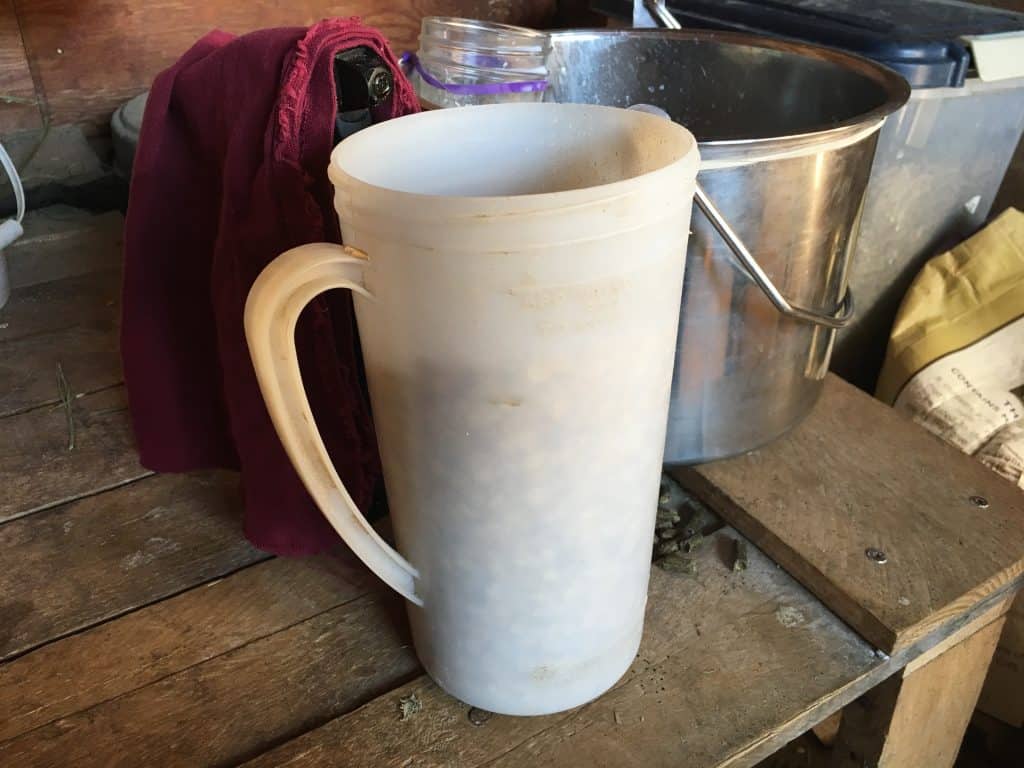
Also, prepare and layout your rag and ointment or cleaner of choice for wiping down the udder.
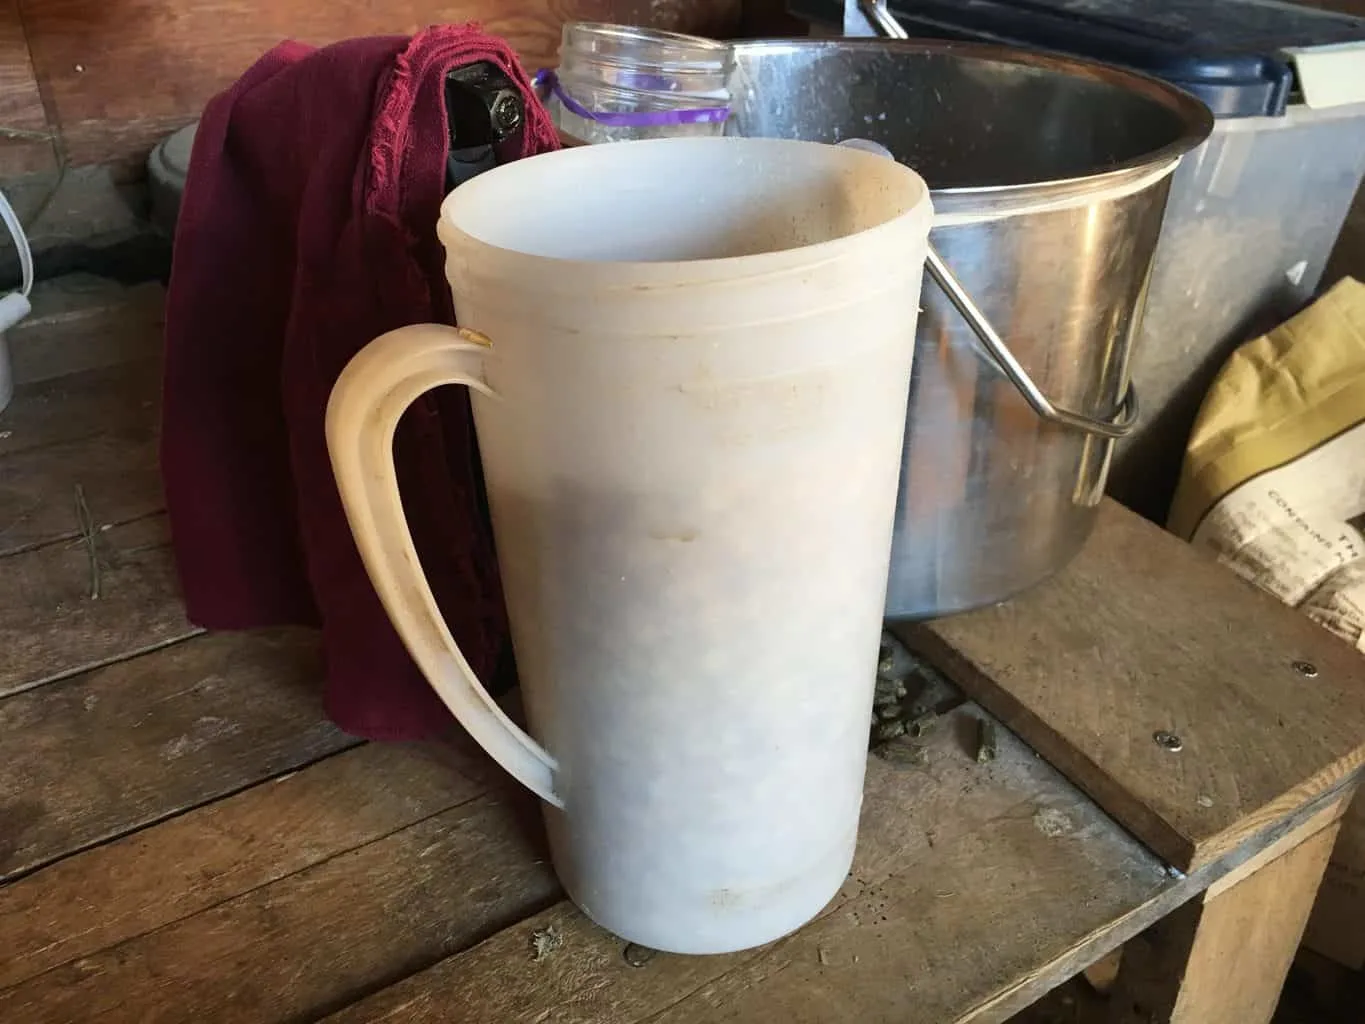
Have your milking bucket and strip cup ready and easily accessible.
If you are new to milking, being prepared for when the goat is on the stand will help you not get flustered and nervous. And being ready to milk from beginning to end will help you feel more confident.
STEP 2: CLEAN THE GOAT’S UDDER
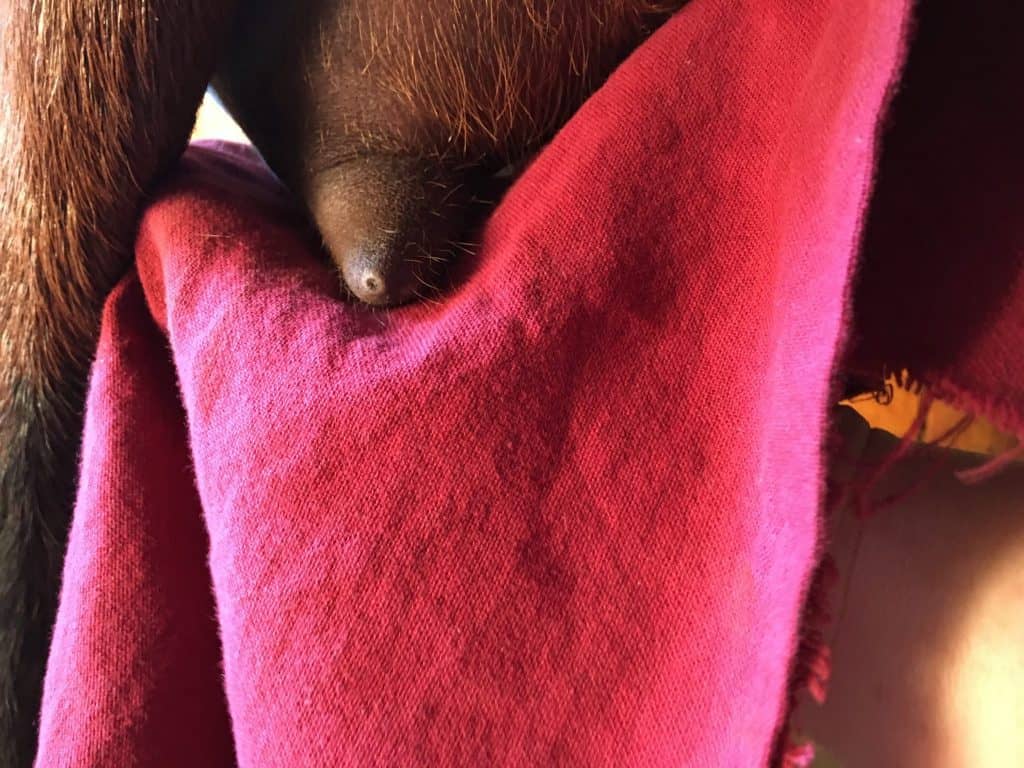
Let your goat into the milking area and onto the stand. Clean the goat’s udder thoroughly, focusing on the tip of the teat where the bacteria would be residing in the opening of the teat. Shaving the goat’s udder may also be necessary and make it easier to milk.
STEP 3: USE THE STRIP CUP
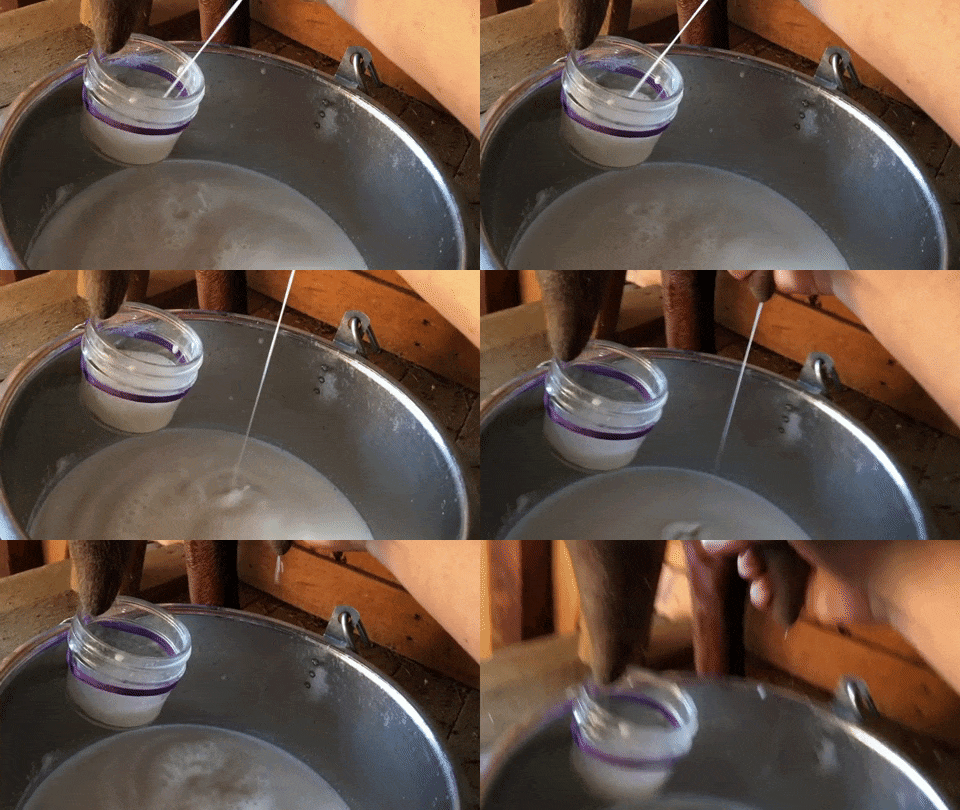
Your next step will be to use your strip cup. There are several options to choose from. You can simply use a separate small cup or pail or you can use the strip cup milking hack that I use. It makes it easy to collect the first milk and then immediately continue milking into the main milking pail.
Squirt 1-3 squirts of the first milk into the strip cup.
STEP 4: BEGIN MILKING!
Your doe will begin with a full, tight udder.
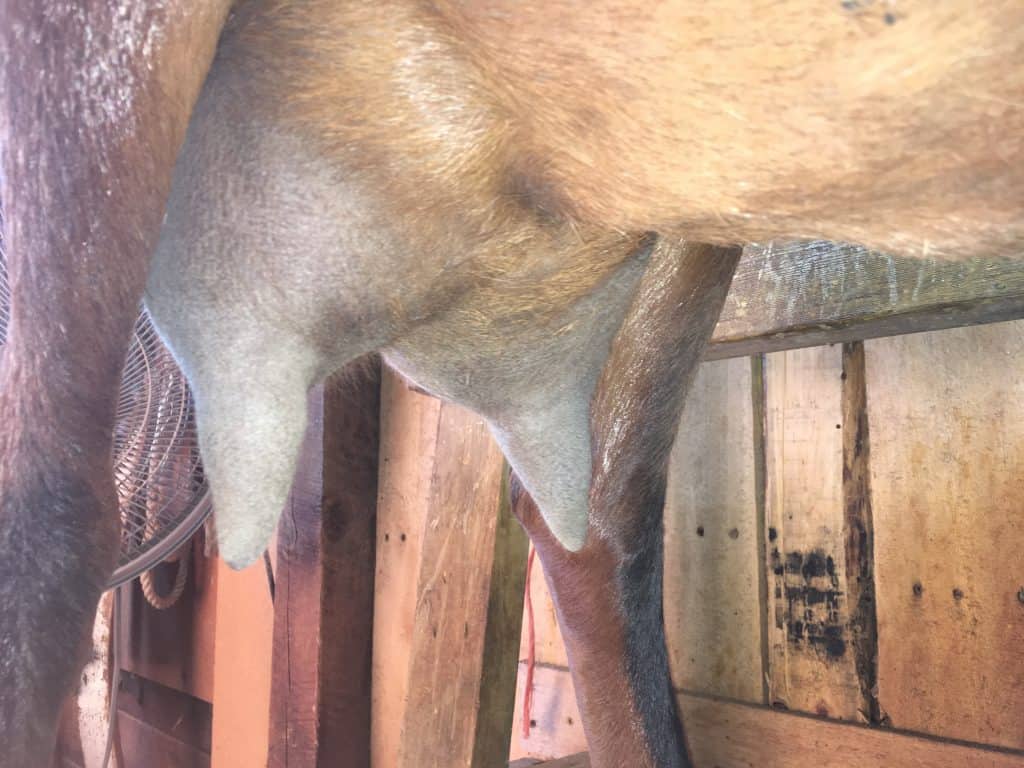
Begin milking by squeezing with the thumb and first finger as high up as possible on the udder.
Trap the milk with those fingers.
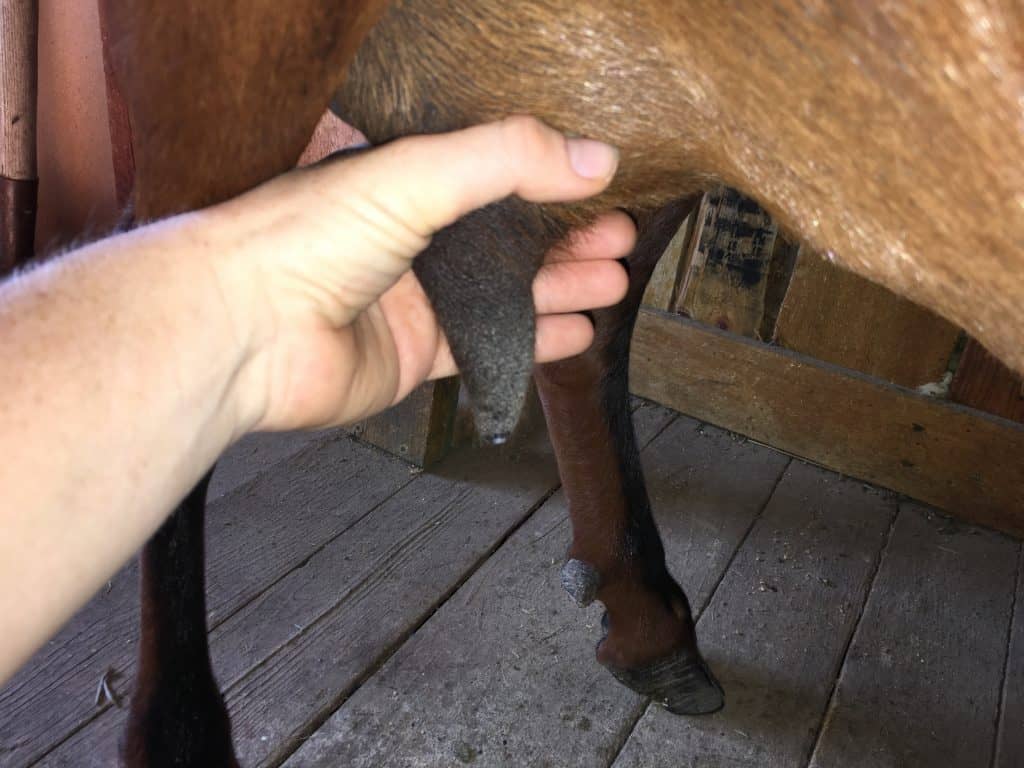
And then squeeze the remaining fingers while continuing to trap the milk. This will force the milk out of the teat.
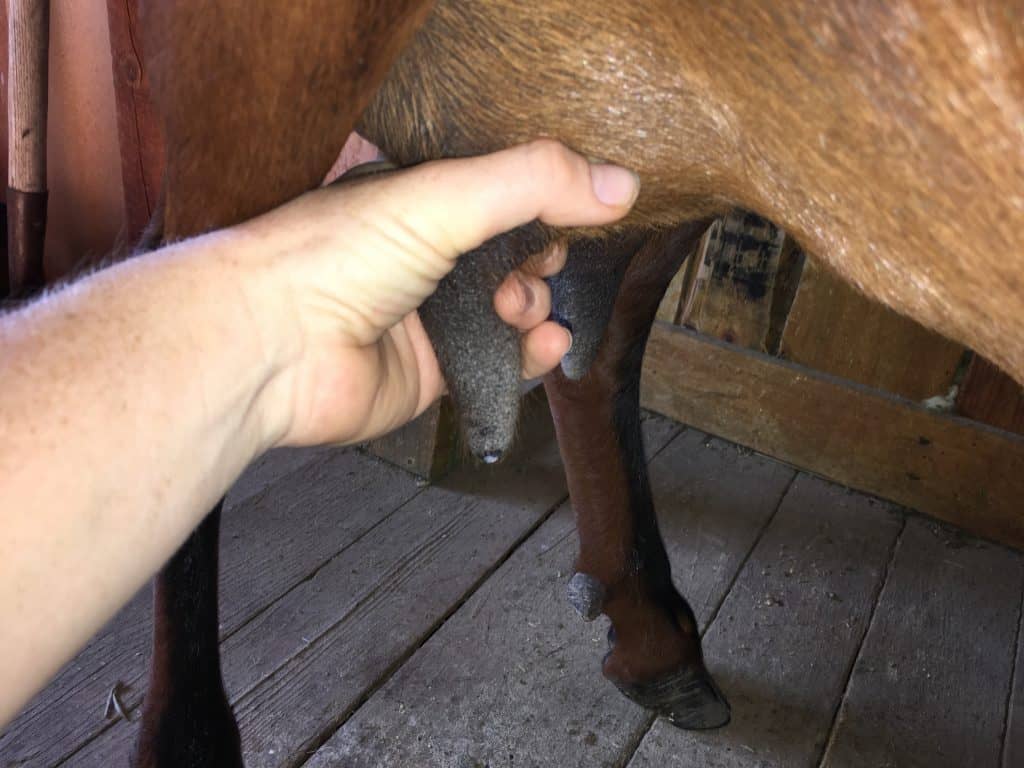
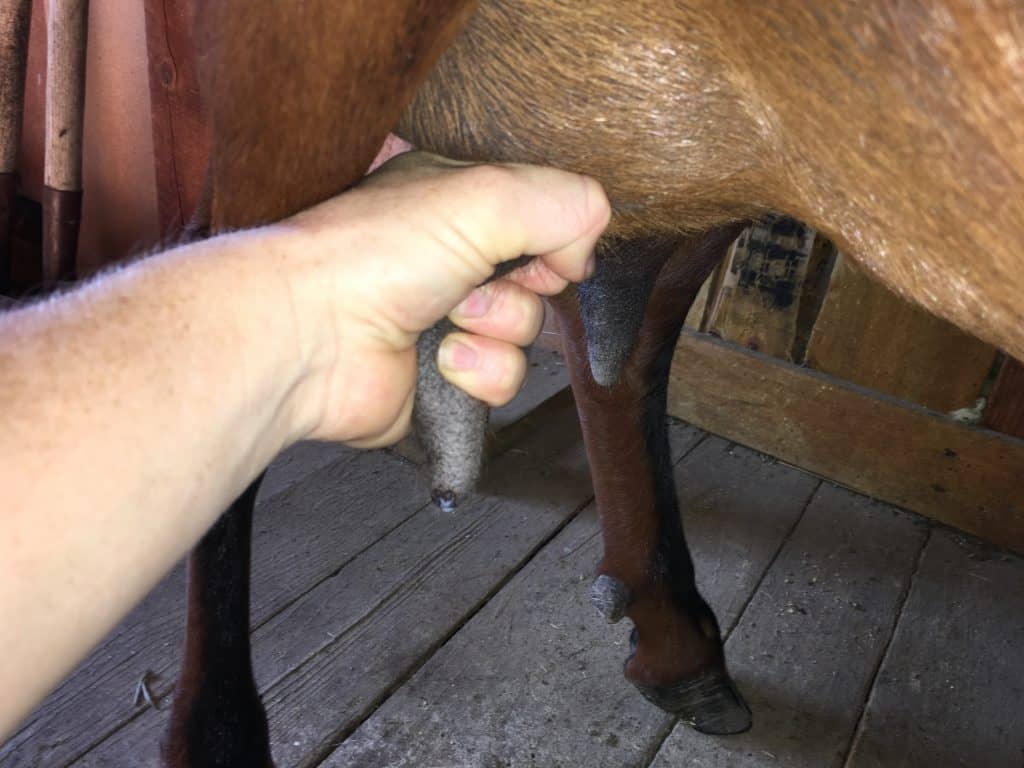
The first squeezes may result in nothing coming out but repeat the process again to open up the orifices (hole) in the teat that allows the milk to flow out.
Repeat this process with both hands. A back and forth, steady rhythm.
STEP 5: GENTLY WORK OUT REMAINING MILK
As you are reaching the end and when the udder feels empty, gently punch or work the remaining milk down into the teats (like the kids do!) to release the next let down and to ensure that the doe is milked out.
The udder will now look empty and wrinkled with no milk remaining.
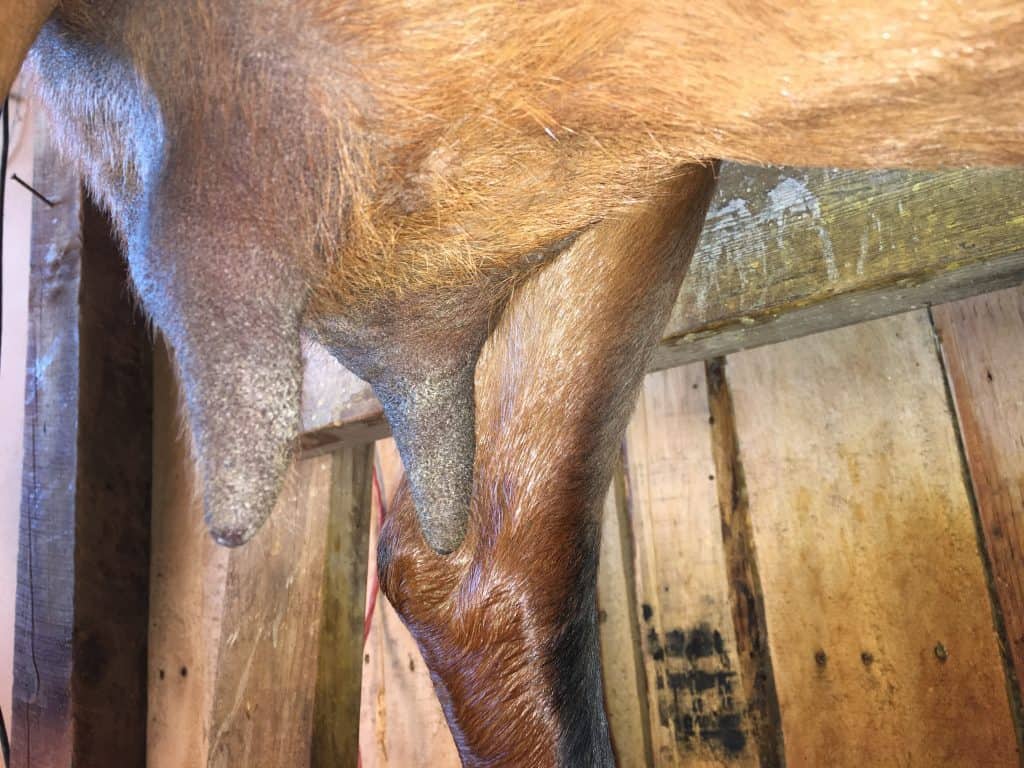
STEP 6: USE UDDER BALM
Apply udder balm to the udder and the teats.
And that’s a wrap!
STEP 7: CHILL
The milk that is. Well…you may actually need to chill while your goat finishes every.last.bite.of.grain. But the most important part of keeping milk tasting yummy and fresh is by chilling it as quickly as possible. And keeping it in a fridge that is very cold will ensure that it remains fresh for up to ten days.
More Information on How to Milk a Goat
The Milking Stand
It is not absolutely necessary, but a milk stand may make it an easier process. There are three ways to milk a goat:
- Catching the goat’s head in a head catch (or tying them up) and sitting on a bucket (or stool) set on the ground and milking the goat from their left or right side while they are standing on the ground.
- Use a milk stand and a head catch and milk from the left or right side of the goat.
- Use a milk stand and a head catch and milk from the backside of the goat.
Whichever way is chosen, is solely based on what is most comfortable for the milker. There is no right or wrong way.
Cleaning a Goat Before Milking
This cleaning process is so important. Your goat may have been laying down in the straw or area where there is manure or urine. Bacteria may find a way to the opening of the teat. If the goat’s udder is not cleaned thoroughly, the risk for foodborne illnesses becomes possible. These would be like Salmonella, E. coli, and Listeria.
Wiping down the udder also releases oxytocin, which stimulates letdown and the release of milk.
There are many homemade solutions that you can use to clean the udder. I personally use a very watered-down iodine solution.
Trimming the udder and sometimes even long leg hairs may also be necessary because the hair can get in the way of your hands during milking but also can carry bacteria that may contaminate the milk.
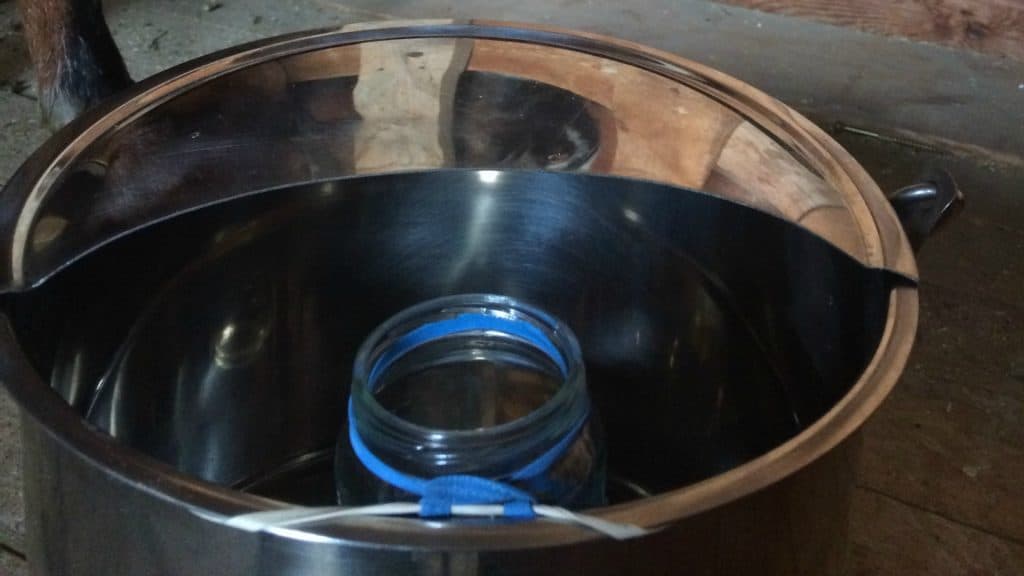
Why Use a Strip Cup?
The strip cup is also an important part of the milking process. Although cleaning the goat will sterilize the outside of the udder, if there are any bacteria inside in the first milk, the strip cup will capture this bacteria, and keep it separated and then this milk will be disposed of.
The strip cup does two things:
- Collects any of the bacteria that may be present in the first streams of milk
- And allows you to check the milk to make sure that there are no abnormalities, blood, or clots that would indicate mastitis or any serious issues that would need to be addressed immediately.
During the Milk Process
The step-by-step instructions above show what TO DO. But there are a few reminders and things NOT TO DO.
• Do not squeeze, pull or yank on the teats or udder because this could cause damage. Even in the frustration of things not working, it is important to not cause unwanted damage in a moment of frustration.
• Even in the frustration of things not working, it is important to remain calm. The doe will pick up on emotions.
• It is also important to understand that there are different reasons for how long (or short!) it takes to milk a goat:
• The size of the does udder
• And the size of her teats
• The size of the orifices (holes) in the goat’s teats
• The handlers experience
• And how well the doe behaves on the stand
When you first begin milking, you may find that your arms feel weak. But with practice, your arms will be strengthened, just as muscles are in a workout program. So keep at it!
Also, if for whatever reason, you cannot milk with both hands, there is nothing wrong with using one hand to milk out one side and then switching to the other side to milk with the same hand.
Always be aware of distractions and look for ways to eliminate them. Flies can be frustrating and annoying to both you and your goat. If they are a problem, use a fan during milking.
Or if there are goats with nimble noses, who can open unlocked doors, remember to lock the door after the milking doe is let in. There is nothing more distracting than the other goat running at you and the milk stand vying for the grain while you are trying to milk! (Ask me how I know!) 😉
As you begin to learn the mannerisms of your doe, you will also be able to read her better over time. And this helps because you can (usually) tell when they are going to kick or step forward into the bucket. But not always! Just pay attention so that you can be ready to stop a leg or foot with your wrist. It is so very frustrating to have a dirty hoof in the milk or the bucket tipped over.
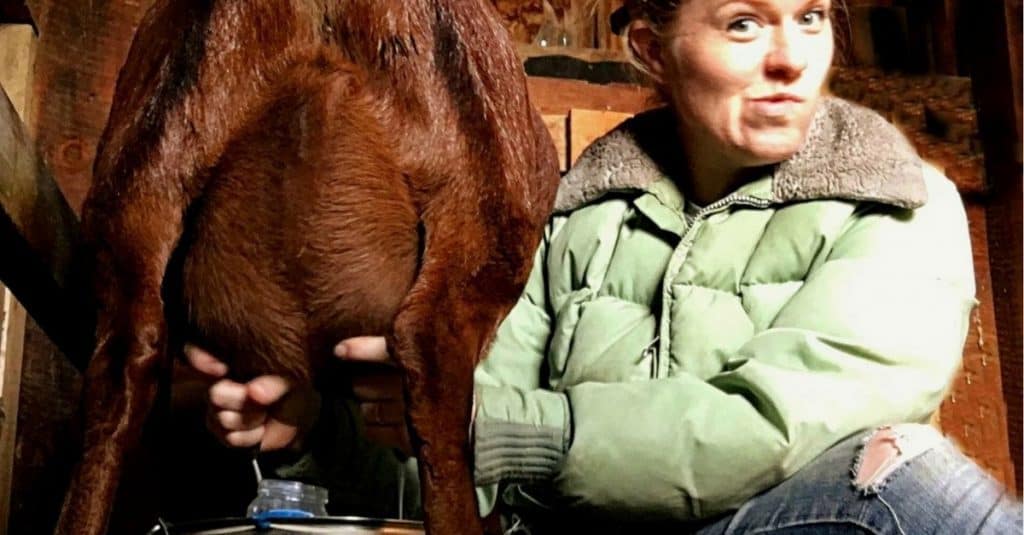
At the End of Milking and Using Udder Balm
A doe in milk is continually making milk, so it is almost impossible to “strip out” every last drop because once you stop, they are already making more milk! I have never had a problem with mastitis, and although I do milk out what I can, I do not pull on the teats in any way to get out “every last drop.”
All does are different. Some does will have an udder that milks out very easily and it is very easy to tell when she is done. Other goats require a bit of massaging or “bumping” to get the remaining milk. With each milking, you will understand and realize which type of goat you have.
Using udder balm or teat dip ensures that the opening of the teat is protected from bacteria entering. The teat end and streak canal remain open for up to an hour after milking and it makes it easier for bacteria to enter. It is a good practice to feed your goats after milking so that they are standing for a period of time after milking which allows time for the streak canal to close.
Udder balm will also soothe the skin and help keep the udder from becoming chapped or irritated.
You also may find that one hand is stronger than the other. My right hand is stronger than my left, so I usually finish that one first. 🙂
Chilling the Milk
The chill process is really an important part of this process. Get the milk in the bucket, get it inside and in the fridge. Many people chill the milk in the freezer for half an hour before putting it in the fridge. The faster the milk can be chilled the better it will taste and the longer it will last.
Around the world, goat milk is the most favored and most drank milk there is. And we shouldn’t be surprised: there are astounding benefits to drinking goat milk.
But this also shows that many, many people milk a goat every day…and it can be done by you too! There are no reasons why you shouldn’t get a goat and although there may be some nervous butterflies the first few milkings, they will pass and both you and your goat friend will be a pro at the milking process from beginning to end.
With every milking you get under your belt, the seven milking steps mentioned above will become natural instincts and you won’t think twice about how you get it done.
For the small homestead, a milking goat is an excellent option for several reasons:
• Their size is optimal for small spaces
• Their poop is less and smaller than a cow’s
• They eat considerably less hay
• Their milk production is the perfect amount for one family
• They are sweet and considerably loving and become a member of the family very quickly
Are you convinced yet that you need a goat? If not, you can become convinced even more: Reasons You Need a Goat. ← Hop on over there and you will find 12 reasons you need a goat. You can thank me later 😉

